Affiliate Marketing is a great way to monetize your blog, where you recommend someone else’s products or services and earn a commission on sales made by visitors who are redirected from your website. There are a lot of possibilities to make money online through affiliate marketing and if you are using WordPress platform then managing affiliates through plugins is no big deal for you. Although many bloggers or website owners, apart from being a part of affiliate marketing network also add another way to monetize their blog via advertising.
AdSense by Google, though not the only, but is one of the best advertising platform available designed to make money for both, bloggers and website owners. If you are new and are skeptical of negatively affecting the user experience of your reader, don’t worry about it as I have personally tested it on a lot of my other websites and it works great. Its an added passive income that you generate based on the traffic and niche of your website.
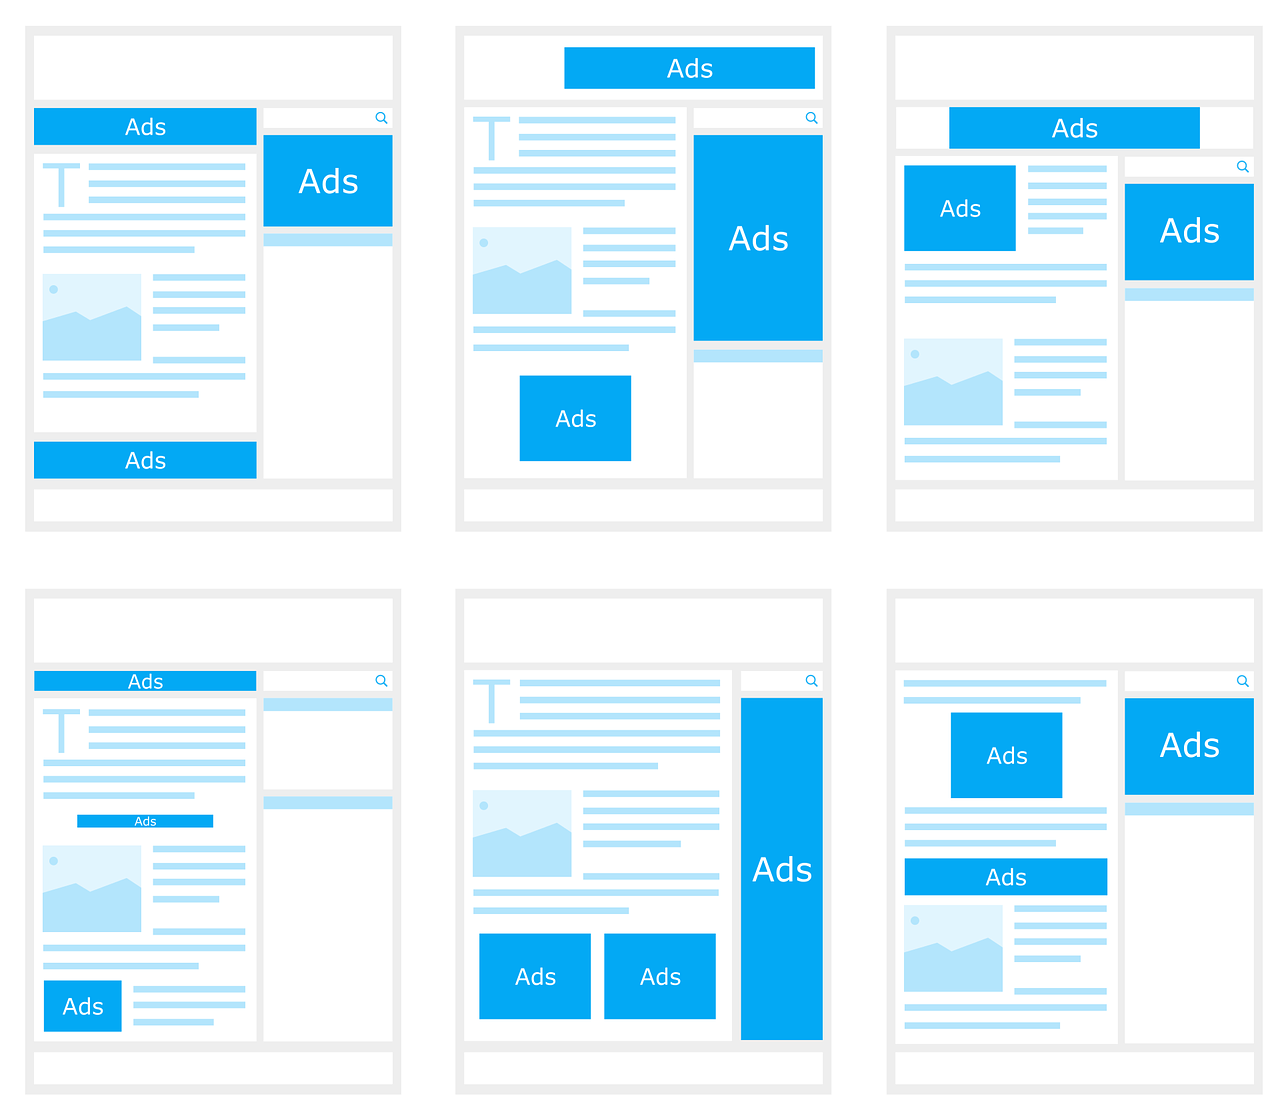
You decide targeted areas on your website, where you want the ad placement to be, what size ad you want to run and when ever a visitor clicks on that ad, Google will give you a cut from whatever price the advertiser paid for it. You can never know how much an advertiser paid for it or how much did Google made from it. But you will be able to analyse your own statistics to track the performance of your ads (units and placements).
So to get you started, I have created a step-by-step guide on how to setup a new AdSense account. In case you’re looking for AdSense alternative you can click on here.
1. Signing Up with Adsense
1. Go to Adsense url : http://www.google.com/adsense/
2. You can either use your existing google account or you can create new account if you don’t have one.
If you already have an existing Gmail account then click “Sign In” or to create a new account click “Create Account”.
You can also submit your Adsense application here. With changing policies, now it takes up-to a week for the application approval process.
It is advised to adhere to their AdSense policies in order to keep your account in good standing or they can disable your account anytime and you will have a hard time going back and forth via email to get your account approved again.
Signing up with existing gmail account will be easier as creating a new account will take a little longer as it will ask for a lot of details.
Now if you are creating a new account this is what your screen will look like and these are the details you need to enter:
– Enter your personal details like: First and Last Name, Your email address, Create a password, confirm password, your birthday, your mobile phone (you can change country click on flag icon).
– Type the text you see in the image for example on this image is 14128. If you can not verify image then you can do phone verification.
– At last make sure you click on I agree to Google Terms of Service and Privacy Policy. Click Next Step.
If you are using an existing Google account, this what your screen will look like and all you need to do is enter your login credentials:
2. Website Details
Now that you have provided your personal details, its turn to provide the details about your primary website. According to their guidelines, it should be a website that you own and not a directory listing or a webpage. For example: www.techotics.com will be a valid URL, while www.techotics.com/my-page.html will be an invalid URL.
– Enter the website that you own in “My website” box. (you don’t have to put http://)
– Select the language of your content. (Mine is English)
3. Provide Contact Information
This is where you will have to enter your contact information. Make sure you type all the accurate information as Google will send your payment to the provided information. If you have been following along carefully you should be good.
Information they will ask you includes:
– Your Country
– Timezone
– Account type: Are you individual or business? Select this carefully as you wont be able to change your account type after the application is submitted. There’s no difference in the payout of either option, they only thing different is the
– Name and address and primary contact information. Enter your full name as it appears on your bank account. Be careful will selecting the name and account type as some countries will not let you change the payee name once its created.
Here’s the list of Countries where you can’t change your payee name within your account
– How did you get to know AdSense?
– AdSense Email preferences, I would click “yes” for everything as this will provide you with special offers, performance suggestions, newsletters and many more things.
Ensure all the information you entered is correct and the click on “Submit my application”. Sit back and wait for few days until you hear back from them.
4. Payee Information
Once your application is processed you want to enter/change your payee information:
– From your account, click on the gear icon and select “Payment”
– Click on the “payee profile” and make the desired changes. If you make changes here you will need to submit your tax information again.
Here are the steps of updating your tax information in Google Adsense account.
Some countries will not let you change your payee name once you application is created.
Here is the list of countries which are not allowed a payee name change after signing up. If you are from one of those countries and still want a payee name change you will have to close the account and submit a new application. Here are steps on how to do that.
AdSense keeps on updating and improving their approval process and depending on your geographical location, the time frame and the process may vary.
Some of the ways that AdSense will do account verification are:
– Sending confirmation email to the provided email address.
– Phone verification by sending a code as text message
– Validity of the address provided.
– Site ownership: which means that if you don’t own the website you wont be able to place AdSense code on it and they will know, resulting in denial of the application.
5. Application Review & Approval
Now you are ready to create your AdSense code to put it on your website URL you entered while signing up (target pages that receive a good amount of traffic). This is a very important step, your application won’t be fully process until you do so! Once you do that your application will be reviewed again. You will see blank ad units (your readers wont know a thing as these blank units blend with your background) until your application has passed the complete review process and is fully activated. You’ll also see a red bar across the top of your account saying that you’re still under review.
Once their system detects that you have placed the code on the sign-up URL they will review the entire website, which usually takes about 1 to 2 days and you will an email with status of your application: approved or disapproved and the reason to explain why it was not approved. Once its fully approved that red line will disappear and your ad units will start to show up!
You will start receiving payment once your AdSense account reaches the $100 threshold. I had my account set up to receive check payments initially but as my AdSense revenues jumped higher and higher I changed it to direct deposit into my bank’s account!
Let me know in comment below how are your monetizing your blog and how satisfied are you with your revenues from AdSense?